Why Antique Gel Pools in Deep Leather Tooling Impressions
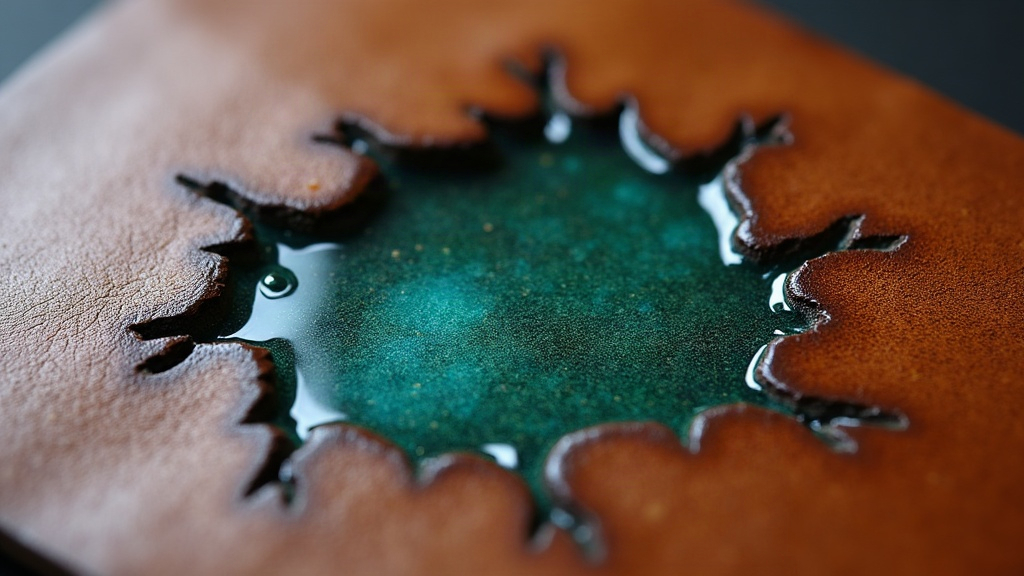
Why Antique Gel Pools in Deep Tooling (And How to Stop It)
Antique gel pools in deep leather tooling impressions because the thick, oil-based paste settles into carved grooves faster than it dries. Uneven wiping only makes it worse, trapping excess product wherever the leather surface dips lowest. The fix comes down to three things you control before the gel ever touches your project: application thickness, wipe timing, and leather porosity.
What’s Actually Happening When Gel Pools
Antique gel (also sold as antique paste or finish) is meant to settle into the recesses of tooled or stamped leather. That’s not a flaw, it’s the whole point: the contrast between raised and lowered areas is what gives tooling its depth. Trouble starts when:
- The gel goes on too thick over deeply carved or stamped sections
- Wiping happens too soon (the gel hasn’t tacked up yet) or too late (it’s already hardening)
- The leather itself is over-conditioned or has patchy porosity
- Humidity or a cold room slows drying time without you noticing
And pooling isn’t just a looks problem. Gel sitting too long in a groove can crack months later, discolor unevenly, or leave a tacky surface that keeps attracting dust and grime long after you thought the project was done.
Common Causes, One by One
1. Over-Application
A lot of beginners load the sponge, cloth, or brush way too generously. Antique gel stretches further than people expect, and in detailed basket-weave or floral tooling, where grooves run narrow and deep, a heavy hand guarantees pooling before you’ve wiped a single stroke.
2. Wiping Too Early or Too Late
Most gels want 1 to 5 minutes of dwell time before you wipe, and that window shifts depending on the brand and how humid your workspace is. Wipe too soon and you’ll drag gel right out of the shallow spots while the deep pockets stay untouched. Wipe too late and the gel has already started to set, at which point you’re not wiping anymore, you’re streaking.
3. Leather Porosity Issues
Leather that’s over-oiled, case-hardened, or just poorly tanned absorbs gel unevenly. Dense or sealed patches won’t let the gel settle in naturally, so it pushes back up to the surface and drifts toward the lowest point it can find (usually the deep impressions) and sits there.
4. Skipping a Test Patch
Here’s the thing: even two hides from the same tannery batch can behave completely differently. Skip the test strip and you’re essentially guessing at dwell time and wipe pressure on the real piece, the one you can’t easily redo.
How to Prevent Gel Pooling
Prep the Leather First
- Wipe the surface down with a leather deglazer or rubbing alcohol on a cloth to strip oils and dust.
- Case the leather (dampen it slightly) if your tooling calls for it. This evens out absorption across the hide.
- Let it dry back down to the right moisture level before any finish goes on.
Apply Thin, Even Coats
Work with a slightly damp sponge or applicator pad, never a saturated one. Break the project into small sections, say 3 to 4 square inches at a time, so you can actually track dwell time instead of racing across the whole piece and losing control.
Time Your Wipe Correctly
- Watch the finish: it moves from glossy-wet to a slightly dulled, tacky sheen, and that’s your window.
- Wipe with a soft, lint-free cloth, smooth consistent strokes, always in the same direction.
- For really deep impressions, a slightly damp (not wet) cloth corner or a small brush works better for lifting excess gel out of the grooves specifically.
Use the Right Tools for Deep Carving
- A stiff-bristled detail brush reaches into deep floral or geometric cuts that cloth simply can’t get into.
- Low-pressure compressed air can dislodge pooled gel from narrow channels before it sets up.
- Some crafters swear by a toothpick wrapped in cloth for pinpoint cleanup in tight corners, worth trying if you’re fighting a stubborn spot.
Control Your Environment
- Skip applying antique gel in high humidity or a cold room; both slow curing down and raise your pooling risk.
- Stick to a well-ventilated space at room temperature, 65 to 75°F (18 to 24°C), so your dwell times stay predictable instead of guesswork.
Fixing Pooled Gel After the Fact
Already dealing with hardened pooling? Here’s the recovery process:
- Reapply a small amount of gel over the affected area to soften it back up.
- Wipe immediately with a clean cloth, pushing the excess toward the raised edges.
- For stubborn spots, dip a cotton swab in the same gel to reactivate and lift the old residue.
- Give the piece a full cure, 24 to 48 hours, before applying any topcoat or sealant.
Final Thoughts
Pooling in deep tooling impressions almost always traces back to the same three variables: how much gel you put on, how long you wait before wiping, and how consistent your leather’s porosity is. Slow down, test on scrap first, work in small sections. The contrast antique gel is supposed to create only looks good when you’re controlling it, not when it’s happening to you.