Fixing Stitch Holes That Tear Out on Thin Chrome-Tanned Card Sleeves
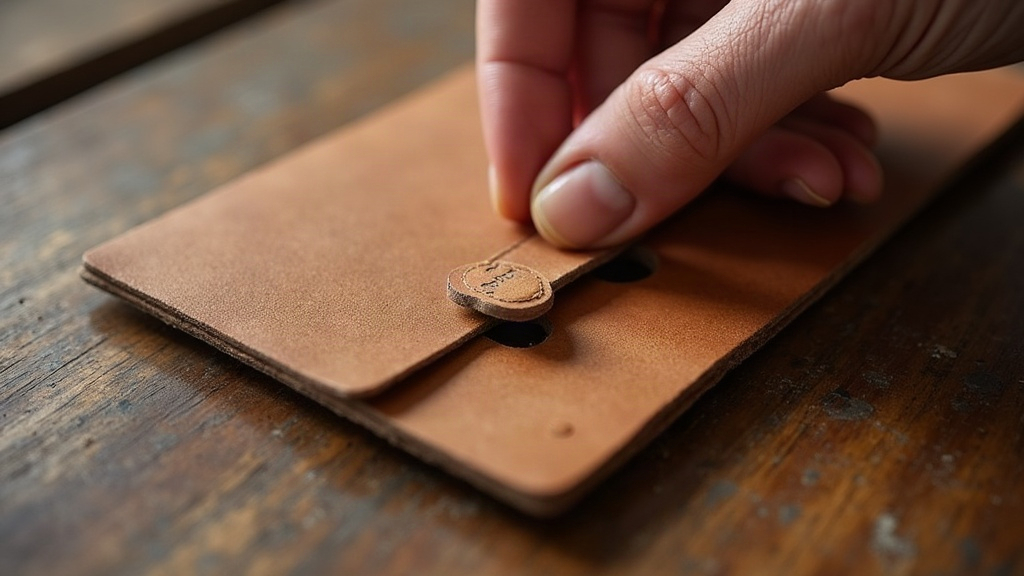
If the stitching on your thin chrome-tanned card sleeve keeps ripping out along the edge, you’re dealing with a pretty predictable combination of problems: holes punched too close to the edge, pricking irons that are too big (or just dull), and the naturally loose fiber structure that chrome-tanned hides have. The fix isn’t complicated, but it does take a few steps: reinforce the existing tear, re-stitch with properly sized holes set further from the edge, and add some backing or edge support so the leather can actually handle tension instead of shredding under it.
Why Chrome-Tanned Leather Tears at the Stitch Line
Chrome-tanned leather is tanned with chromium salts instead of vegetable tannins. That’s what makes it softer, more flexible, and usually thinner straight out of the tannery. For card sleeves, that flexibility is a selling point. It molds around the cards, feels supple in your hand, doesn’t fight you when you’re pulling a card out. But that softness comes at a price.
- Looser fiber bonding: Chrome tanning never firms up the fibers the way vegetable tanning does. So there’s less resistance when a needle or awl pulls through the material.
- Thinness amplifies stress: Most card sleeves are cut from 1.5-2 oz (0.6-0.8mm) leather. At that thickness, each stitch hole eats up a surprisingly large chunk of the material that’s supposed to be holding the seam together.
- Edge proximity: A lot of patterns put the stitch line just 2-3mm from the edge, mostly to keep the sleeve slim. That tiny margin happens to be exactly where tear-out starts.
- Repeated flexing: Think about how many times a day a card gets pulled in and out. Dozens of times a week, easily, and every single pull stresses the same stitch holes.
How to Fix Sleeves That Have Already Torn
1. Stop and Assess the Damage
Don’t just jam the needle back through the same holes. Enlarged or torn holes won’t grip a new stitch any better than they gripped the old one. Take a minute to check whether the tear:
- Stayed contained to one or two stitch holes (easy fix)
- Ran between several holes, turning into a slit (needs reinforcement)
- Reached the actual edge of the panel (needs a patch or an edge rebuild)
2. Reinforce Before Re-Stitching
For minor tears:
- Work a thin layer of leather glue or contact cement into the torn area to re-bond the fibers before you stitch anything.
- Give it a full cure, 30 to 60 minutes, before you touch it again. Rushing this step is how you end up redoing the whole repair.
For larger tears or a blown-out edge:
- Cut a thin skiver or reinforcement strip (chrome-tanned scrap works, or even thin pigskin) and glue it to the underside of the panel so it spans the damaged area completely.
- Once that’s bonded, re-mark your stitch line and re-punch through the reinforced section.
3. Re-Punch With Correct Spacing
When you redo the holes:
- Move the stitch line out to at least 4-5mm from the edge, not 2-3mm. Honestly, this one change alone fixes most recurring tear-out problems.
- Use a pricking iron or stitching chisel sized for 2-3 strands of thread. Oversized holes will chew through thin leather fast.
- Keep holes evenly spaced (3-3.5mm apart is pretty standard) so the stress gets distributed instead of piling up at one point.
4. Switch Stitching Technique If Needed
- Saddle stitching (two needles, waxed thread) spreads tension much more evenly across the seam than machine stitching does on thin chrome-tanned leather.
- Don’t pull your stitches too tight. Overtightening is one of the biggest causes of tear-out on soft leather, because it dumps all the force into each individual hole rather than letting it run along the seam.
Preventing Future Tear-Outs
- Go with a firmer chrome-tan or combination-tanned leather (chrome base with a light vegetable retan) for your sleeve panels. You keep most of the flexibility but gain real fiber strength.
- Bump up the edge margin in your pattern to 5mm minimum. It’s a small change, but it matters.
- Fold or double the edge on the seam side rather than leaving a raw cut edge. Folding doubles the thickness right where the stress is highest.
- Match thread diameter to hole size. Oversized thread practically forces you into oversized holes, and that’s bad news for thin leather.
- Burnish or skive the edge a touch to cut down on stiffness that otherwise fights against the stitch line every time the sleeve flexes.
Quick Diagnostic Checklist
- Tear started at one hole and spread? Probably an overtightened stitch or a chisel that’s too big.
- Tear sits right at the panel edge? Your stitch line is too close; widen the margin.
- Leather feels paper-thin right at the seam? Time for a reinforcement strip or a thicker leather choice altogether.
- Tear keeps coming back after repair? Check whether you’re re-punching through the same weakened holes instead of actually shifting the line.
Conclusion
Tear-out on a thin chrome-tanned card sleeve isn’t bad luck, it’s a predictable outcome of thin material, holes crowded too close to the edge, and tension piling up at single points. Reinforce the damaged spot, re-punch with wider margins and properly sized holes, and think about a slightly firmer leather or a doubled edge for your next build. Make those adjustments and the sleeve will hold up to daily use, card after card, without the seams giving out on you again.