Beginner Guide to Casing Vegetable-Tanned Leather for Carving
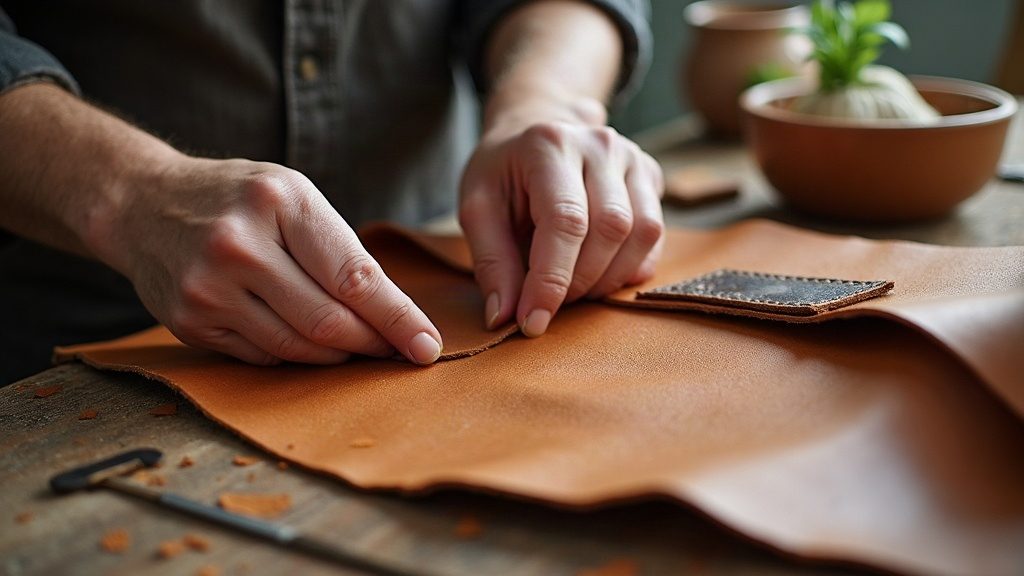
Casing vegetable-tanned leather means wetting it to just the right moisture level so it takes tooling marks cleanly. Get this one step wrong and nothing else matters. It’s the single biggest factor in whether your first carved border comes out crisp or turns into a mushy mess. Before you even pick up a swivel knife or a border stamp, your leather needs to be damp enough to hold an impression, but not so soaked that your lines bleed and swell shut behind the blade.
Why Casing Matters Before Carving a Border
Vegetable-tanned (veg-tan) leather is really the only option for traditional carving and stamping. Its fibers compress and darken when moisture hits them, and that’s exactly what creates the contrast that makes a tooled design pop. Try carving dry leather and you’ll feel it fight back: the surface cracks, the tool skips, nothing holds a shape. Go too wet on the other end and you’ll watch your lines close up within minutes, turning a sharp border pattern into a blurry smear.
What You’ll Need
- A piece of natural (undyed) vegetable-tanned leather, 4–6 oz is good for practice
- A sponge or spray bottle filled with clean, room-temperature water
- A smooth, non-porous work surface (acrylic or glass works best)
- A clean towel
- Patience. This is a feel skill, not something you can time with a stopwatch
Step-by-Step: How to Case Leather Properly
1. Start with the dry leather
Lay your piece flat and look at both sides. Dry veg-tan leather feels stiff and reads as tan or cream colored. Remember this baseline color, because the whole point of casing is comparing “before” to “after” to judge how much moisture has actually soaked in.
2. Wet both sides evenly
Load up a damp sponge and go generous on the flesh (rough) side first, then a lighter pass on the grain (smooth) side. Don’t let water pool on the surface. You’re after even absorption, not standing puddles. If you’re working with a smaller piece, a quick dunk in a shallow tray of water does the job just as well.
3. Let it rest — this is the part beginners skip
This is where most people go wrong. After wetting, set the leather down and walk away for 10 to 30 minutes, depending on thickness and how humid your workspace is. During that waiting period, the water migrates from the surface into the fiber structure. That internal absorption, not the wet sheen on top, is what actually makes the leather carvable.
4. Watch the color change
As the leather dries back toward its natural shade, it passes through a window where conditions are right:
- Too wet: the leather looks dark, feels slick to the touch, and a fingernail press vanishes almost instantly
- Just right: the leather has returned close to its original color but still feels cool and slightly tacky; press a fingernail into it and the mark holds for a few seconds
- Too dry: color is fully back to normal, the surface feels stiff again, and your tools will skip or scratch instead of cutting
Most beginners jump in too early, while the leather is still obviously dark and wet. Give it that extra 10 to 15 minutes and the difference in line quality is night and day.
5. Test on scrap first
Before touching your actual project, press a swivel knife or a single border stamp into a scrap edge from the same hide. If the cut holds its shape and the edges stay open instead of swelling shut within a few seconds, you’re good to go.
Casing for a Simple Border Design
A border pattern, whether it’s straight lines, a basket weave edge, or a repeating geometric motif, actually wants slightly firmer casing than a detailed floral carving does. You’re after crisp, repeatable stamp impressions here, not deep flowing cuts. Aim for a touch past “just right,” leaning toward the drier side, so your stamps don’t smear into one another when you’re working them close together.
Common Mistakes to Avoid
- Rushing the rest period. Carving right after wetting is the number one beginner mistake, hands down
- Wetting only one side. This causes uneven tooling and the leather will warp on you
- Using hot water. It can mess with the leather’s temper and final finish
- Re-wetting out of impatience. If the leather dries out mid-project, mist it lightly and let it rest again rather than soaking it heavily
How Long Does Casing Last?
Properly cased veg-tan leather usually stays workable for 30 to 60 minutes before it dries past the point of good tooling, though humidity and thickness shift that number around. Working on a long border? Keep a spray bottle within arm’s reach and re-dampen small sections as you move along, always giving it a short rest after each misting before you carve.
Conclusion
Casing comes down to patience more than technique: wet the leather evenly, let it sit, and learn to read that subtle shift in color and feel before you pick up a tool. Case a handful of practice scraps, get a feel for what “just right” actually feels like under your fingers, and carving a clean, consistent border stops being a guessing game. That tactile sense sticks with you, too, and it’ll pay off on every project you tackle after this one.