Restoring Vintage Leather Camera Straps Without Replacing the Strap
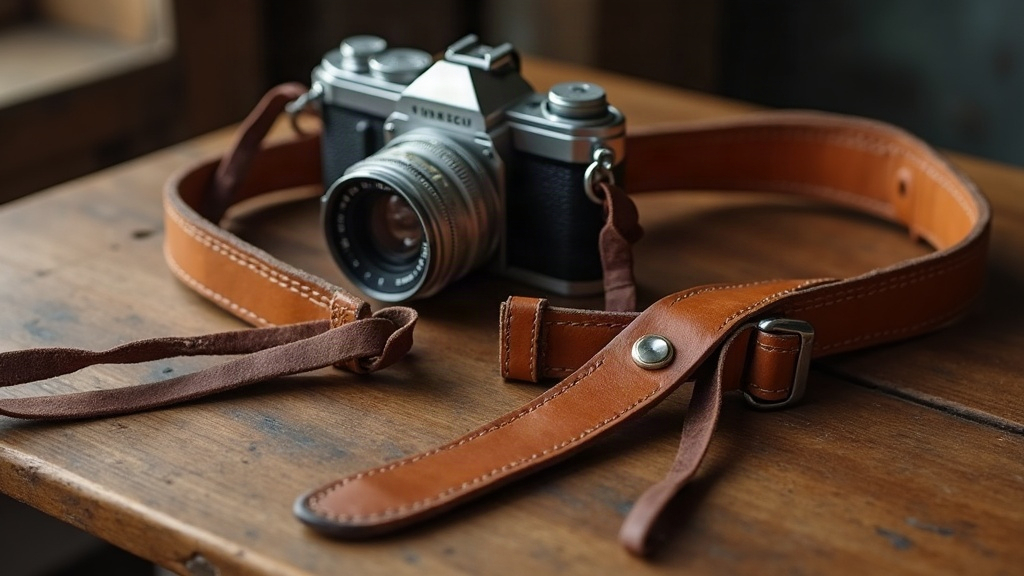
Vintage leather camera straps carry decades of character, but age also brings stiffness, cracks, grime, and the kind of dry patches that make you nervous about trusting a strap with your camera. Here’s the good news: you almost never need to toss it and buy new. With careful cleaning, slow conditioning, and a handful of small repairs, you can bring a vintage leather camera strap back to supple, trustworthy condition while keeping its original hardware and that patina you can’t fake. Below is the full process, step by step, using products you can grab at any hardware store or online, and techniques that won’t do more harm than good.
Assess the Strap Before Touching Anything
Before you reach for any product, look the strap over closely and figure out what’s just cosmetic wear versus actual structural damage. Flex the leather gently along its length. If it feels like cardboard, that’s dryness, not ruin. If it tears, flakes off in chunks, or the stitching has already snapped in more than one spot, you might be past the point of safe repair.
Check these spots carefully:
- Stitching: Look for broken or missing thread, especially where the strap folds around the rings.
- Rivets and snaps: Give them a light tug to make sure they’re still seated tight against the leather.
- Stress points: The loops wrapping around the camera lugs take the heaviest load, and they’re usually the first to crack.
- Leather type: Chrome-tanned straps respond well to conditioning. Older vegetable-tanned leather, though, can be brittle and needs a lighter touch.
When in doubt, play it safe. A restored strap has to hold your camera’s full weight without a second thought, so if a tear runs more than halfway through the leather, it’s time to retire that strap, not repair it.
What You’ll Need
A simple kit covers almost every job:
- Mild leather cleaner or saddle soap (glycerin-based is the safest bet)
- A soft cloth and a soft horsehair brush
- Leather conditioner, something like Bick 4, Lexol, or Leather Honey
- Cotton swabs for hardware and stitching
- Optional: leather glue, edge dressing, and beeswax for finishing
Step 1: Clean the Leather Gently
Start by clearing off surface dirt so it doesn’t get worked into the pores once you start conditioning. Dampen a soft cloth with lukewarm water and wring it out well. The leather should never feel wet, just slightly damp.
- Wipe the whole strap down with the damp cloth to lift dust and grime.
- For stubborn dirt, work a small amount of saddle soap into a lather on the brush, then clean in small circles.
- Wipe off any residue right away with a clean, damp cloth.
- Let the strap air-dry completely, away from heat or direct sun.
Skip harsh detergents, alcohol, and vinegar. They strip away the natural oils that keep leather flexible, and they can darken the surface or crack it outright.
Step 2: Condition Slowly and in Layers
Conditioning is really the core of the whole restoration. Dry leather soaks up conditioner unevenly, so thin layers beat one heavy coat every time.
- Put a small amount of conditioner on a soft cloth or just your fingertips.
- Work it into the leather with circular motions, covering the full surface, edges included.
- Give the first layer several hours, or overnight, to absorb.
- If the leather still feels dry, go in with a second, lighter coat.
Pay extra attention to the folded loops and the area around the stitching, since that’s where the leather flexes the most. Neatsfoot oil and mink oil get recommended a lot, but they can permanently darken a strap and leave it over-softened, so test any oil-based product on a hidden spot first. If keeping the original color matters to you, Bick 4 is usually the safer call.
Step 3: Repair Cracks and Dry Spots
Small surface cracks usually don’t need filling. Conditioning alone will soften most of them out. But for deeper cracks or lifted grain, you’ll want an actual repair:
- Filling deep cracks: Spread a flexible leather filler with a small spatula, let it dry, then buff lightly. This works best on black or very dark straps, where color matching isn’t an issue.
- Re-gluing lifted edges: If you’ve got a flap peeling up at a stress point, apply a thin coat of flexible leather glue, press it down, and clamp it in place until it dries.
- Smoothing edges: For frayed edges, sand them lightly with fine-grit sandpaper, then seal with edge dressing or a rub of beeswax.
Step 4: Restore the Hardware
The metal rings, rivets, and snaps often clean up quicker than the leather does, and a fresh-looking buckle can make the entire strap look restored. Dip a cotton swab in mild metal polish to brighten up brass or nickel fittings, then buff with a clean cloth. Tape off the leather around the hardware first, so the polish doesn’t stain it.
A loose rivet can sometimes be tightened by gently re-peening it with a small hammer against a hard surface, but that’s finicky work and easy to botch. If you’re not confident, a cobbler or leather repair shop will usually swap a single rivet for a few dollars, and that still counts as saving the strap rather than replacing it.
Step 5: Protect and Finish
Once the leather’s clean, conditioned, and patched up, finish with a light protective coat. A leather balm or a thin pass of beeswax helps fend off moisture and slows the next round of drying. Buff with a dry cloth until you get a soft sheen. Keep the strap out of direct sunlight and away from heat vents, and recondition it once or twice a year to keep it from drying out again.
When Restoration Isn’t Enough
Part of doing this honestly is knowing when to stop. If the leather tears under gentle pressure, if the stitching has failed at the load-bearing loops, or if mold or water damage has weakened the material, no amount of conditioner is going to make that strap safe again. At that point, save what you can, the rings and rivets can go straight onto a new strap, and let the old leather go.
Conclusion
Restoring a vintage leather camera strap, instead of replacing it outright, really comes down to patience: clean gently, condition in thin layers, and catch small problems with repairs before they spread. Do it right, and you keep the strap’s original character and patina while getting back the strength and flex you actually need to trust it on your shoulder. A few dollars in supplies and one careful evening, and a strap that looked done can easily shoot for another decade.