How to Make a Custom Leather Case for a Digital Multimeter
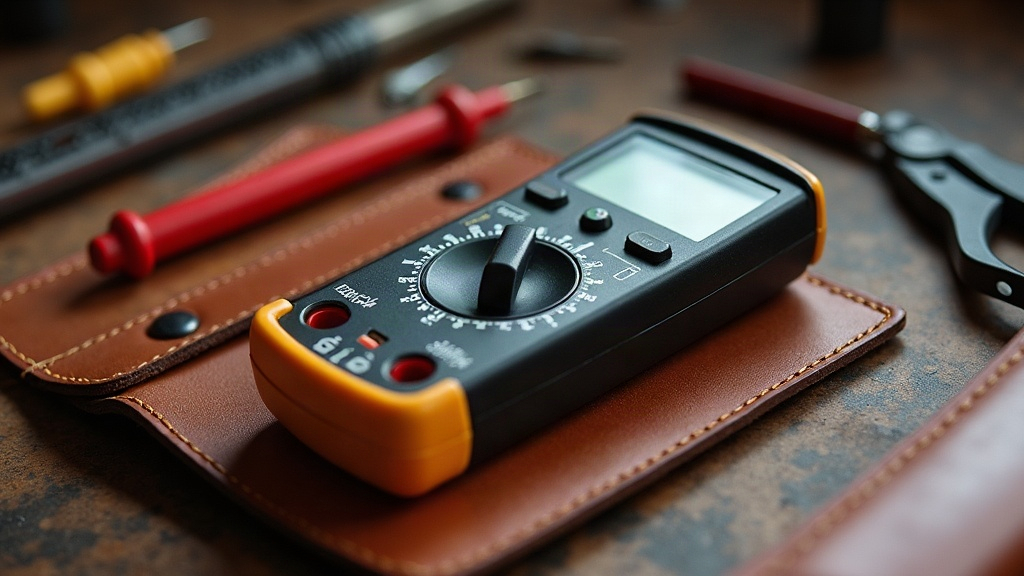
Why Build Your Own Multimeter Case
Off-the-shelf nylon pouches tend to be bulky, and they rarely hug the tool the way you’d want. Sew your own in leather and you get a few real advantages:
- Exact fit for your specific meter model, thickness and button layout included, so nothing gets blocked or pinched
- Durability — vegetable-tanned or oil-tanned leather shrugs off scrapes and scuffs that would chew through fabric in a season
- A snap flap closure you can pop open with one hand, with no rattling around inside a bag or toolbox
- Room for accessories: test leads, a spare fuse, maybe a folded notepad if you’re the type who jots down readings
Materials and Tools Needed
- 4-5 oz (1.6-2mm) vegetable-tanned leather for the body
- 2-3 oz (0.8-1.2mm) leather or lining material for softer flap edges
- Line 20 or Line 24 snap fastener set (cap, socket, stud, post)
- Waxed thread (0.6mm) and two stitching needles, or a leather-rated sewing machine if you’ve got one
- Rotary cutter or utility knife, cutting mat, ruler
- Diamond stitching chisels (4mm spacing works nicely for a case this size) and a mallet
- Edge beveler, burnishing tool, and leather edge paint or gum tragacanth
- Contact cement or leather glue
- Snap setting tool (anvil plus a die set matched to your snap size)
- A hole punch for the snap post
Step 1: Measure the Multimeter Precisely
Lay the multimeter flat on the bench and jot down:
- Length, width, and thickness, including that little display bump and the side buttons that stick out further than you’d expect
- Thickness with the test leads coiled behind or beside it, if you plan on storing everything together
- Where the kickstand or carrying stand sits, since it might need its own cutout or a bit of extra clearance
Pad each side with 3-5mm of ease. Leather tightens up as it breaks in, and you don’t want it squeezing the meter a month from now.
Step 2: Draft the Pattern
Mock it up in paper or cardboard first. Cheap mistake insurance, basically, and leather isn’t cheap.
- Draw one rectangle covering front and back together (a single piece folded at the bottom skips a bulky seam at the base).
- Add a gusset strip, matching the thickness you measured, if the meter runs thick or you’re tucking leads inside.
- Make the flap an extension of the back panel, long enough to fold over the front and clear the top edge by 15-20mm. That’s where the snap cap lands.
- Round off the flap’s leading corners a little. Sharp corners snag on things and just look sloppy.
- Wrap the mockup around the actual multimeter before you touch real leather with a blade.
Step 3: Cut and Prep the Leather
- Transfer the pattern onto the flesh side with an awl or scratch tool.
- Cut in single, confident passes with a sharp rotary cutter. Sawing back and forth leaves ragged, uneven edges.
- Skive the fold and overlap areas, especially where the gusset meets the body, so the seams don’t end up chunky.
- Bevel every visible edge, then burnish with water and a wood or canvas slicker until it’s smooth and glassy.
Step 4: Stitch the Body Together
- Glue the gusset to the front and back panels with contact cement, lining up the edges carefully before it grabs.
- Mark stitch lines 3-4mm from the edge with a wing divider.
- Punch holes with your diamond chisels in short sections. Working in bursts keeps the spacing honest.
- Saddle stitch it with waxed thread. It’s slower than machine stitching, sure, but one broken thread won’t unravel the whole seam.
- Finish each thread end by backstitching through 2-3 holes, trim close, and dab a bit of glue on it to lock things down.
Step 5: Install the Snap Flap Closure
This is the part that turns a nice-looking pouch into something you’ll actually reach for every day.
- Dry-fit the flap over the closed case and mark exactly where the socket (flap side) and stud (body side) need to land.
- Punch a small hole at each mark, sized to fit your snap post.
- Set the cap and socket on the flap’s top side, and the stud and post on the front of the body, with the leather sandwiched between each pair.
- Compress each snap firmly with the setting tool and anvil. Snap it open and shut a handful of times to test the strength before you call it finished.
- Go with a spring snap over a ball snap if you want that solid, satisfying click, the kind that won’t pop open by accident when the case is riding in a bag or clipped to a tool belt.
Finishing Touches
- Rub in a light coat of neutral leather balm so the leather doesn’t dry out and crack down the road.
- Add a belt loop or D-ring on the back if hands-free carry matters to you.
- A thin felt or microsuede lining glued inside the front panel will save the meter’s screen from scratches over time.
Conclusion
A custom leather multimeter case is a good weekend build, equal parts practical problem-solving and genuine leathercraft. Nail the measurements, saddle stitch for strength, finish it off with a snap flap you trust, and what you end up with is a case that fits your meter like it was made for it (because it was) and will outlast every cheap pouch you could buy off a shelf.