Advanced Skiving Bevels on Single-Layer Watch Band Keepers
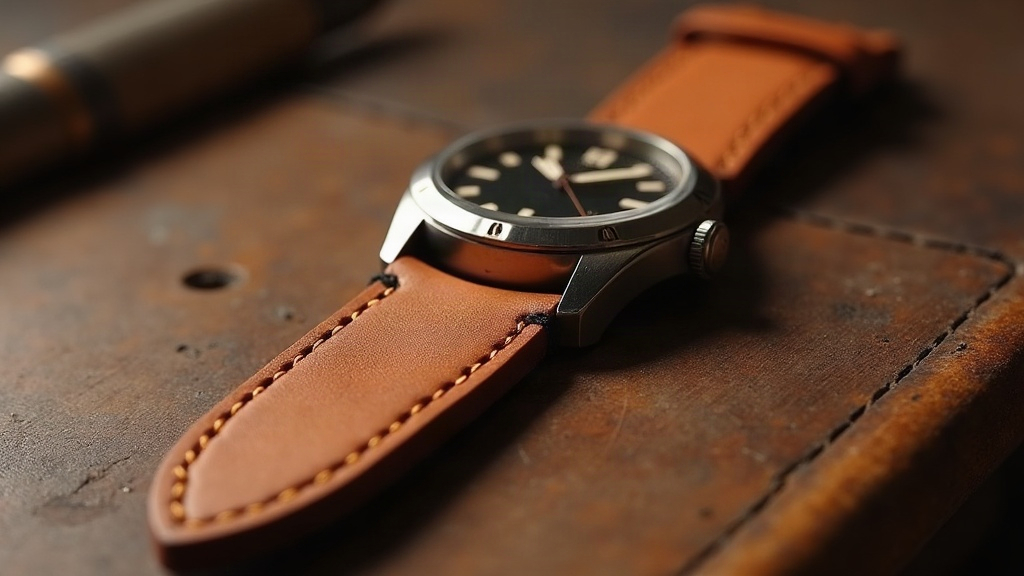
Skiving a bevel on a single-layer watch band keeper is one of those small jobs that punishes sloppy habits immediately. There’s no second layer to hide behind. Every cut shows, and if you thin too much, a keeper that should hold its shape for years turns into a floppy loop that splits within weeks. This guide covers the angle, tools, and sequence that let you get a clean, professional bevel without wrecking the leather’s strength.
Why Single-Layer Keepers Are Different
A watch band keeper is tiny, usually 3-5mm wide and 1.2-2mm thick, just enough to hold the tail end of the strap. Compared to a folded or laminated edge, a keeper gives you nothing to hide behind:
- No hidden core. Any skiving error shows on both sides, not just one.
- High stress concentration. The keeper flexes every single time the watch goes on or off the wrist, so whatever spot you’ve thinned is exactly where it’ll crack first.
- Almost no room to fix mistakes. Try sanding out an error here and you’ll likely punch straight through.
In practical terms, your margin for error is measured in tenths of a millimeter. Not millimeters. Tenths.
The Core Problem: Bevel vs. Thinning
Here’s where most beginners trip up: they think “skiving a bevel” and “thinning the edge” are the same thing. They’re not. A bevel is a controlled, angled cut that reduces bulk right at the edge, nowhere else, leaving the rest of the leather at full thickness. Thinning is what happens when that skive creeps too far inward and you end up with a wide, feathered, weak band instead of a clean edge detail.
The fix? Stop thinking about the bevel as “how deep do I cut” and start thinking of it as “how wide.”
Set a Width, Not a Depth
- Mark a bevel width of 0.8-1.2mm from the edge with a scratch awl or a fine pencil line.
- Don’t judge your progress by how much material you’ve removed. Judge it by whether the blade has stayed inside that line.
- On a 1.5mm thick keeper, staying within that width keeps roughly 60-70% of the core thickness intact at the inner edge of the bevel.
Tool Selection
- Japanese skiving knife (single bevel). Best choice for small pieces and shallow, controlled passes. The single bevel geometry basically steers the blade along a consistent angle for you.
- Safety skiver with adjustable depth stop. A good training-wheels option since the stop keeps you from over-cutting, though it struggles on the curved parts of a keeper.
- French edge beveler (size 1 or 0). Not technically a skiving tool, but handy for a second pass to round off the bevel after the main cut.
Skip the rotary skiving machine here. A keeper is too small to feed through safely, and you’ll end up with an inconsistent bevel right at the ends, exactly where it matters most.
Step-by-Step Technique
1. Dampen Lightly, Don’t Soak
A light case-and-dry, around a 10-15% bump in moisture, loosens the fibers just enough without turning the leather mushy. Soak it fully wet and the blade starts dragging, which skives unevenly.
2. Anchor the Piece
Pin the keeper down with two awl holes at the corners, or grip it with a flesh-side clamp. Movement mid-cut is probably the single most common cause of an uneven bevel, more than blade angle, more than pressure.
3. Cut in Short, Overlapping Strokes
Don’t try one long heroic pass. Use 3-4 short strokes, about 5-8mm each, overlapping by roughly half. This spreads out the pressure and avoids that sudden “dig-in” moment where a thin spot appears out of nowhere.
4. Check the Angle Consistently
Keep the blade at around 20-25 degrees to the leather surface. Go steeper, say 35 degrees or more, and yes, you’ll remove material faster, but you’re also much more likely to punch through to the flesh side on something this thin.
5. Burnish Before Final Trim
Before trimming to final width, burnish the bevel with a wooden slicker and a few drops of water or gum tragacanth. This compresses the fibers and sharpens the look of the edge without removing another sliver of material.
Common Failure Points and Fixes
| Problem | Cause | Fix |
|---|---|---|
| Edge feels papery | Bevel width too wide relative to keeper size | Reduce bevel width to under 1mm |
| Keeper cracks at fold | Thinning extended past bevel line | Mark width line more conservatively, re-cut only within line |
| Uneven bevel around curve | Single straight stroke on curved edge | Use shorter strokes, rotate piece rather than blade |
| Blade digs in | Too much downward pressure | Lighten pressure, let blade angle do the cutting |
Final Quality Check
Pinch the finished keeper between thumb and forefinger and flex it. A properly skived keeper shows a visible, clean bevel line but doesn’t crease sharply right at that line. If it folds too easily, the bevel has crossed over into thinning territory, and at that point, don’t try to patch it. Remake it.
Conclusion
Getting this right really comes down to discipline. Mark a fixed bevel width, use short controlled strokes at a shallow angle, and stop the second you hit the line, not when it “looks about right.” Nail that balance and you end up with keepers that look refined and still hold up to years of daily wear on the wrist.