First Leather Project: Simple Valet Tray with Just a Knife
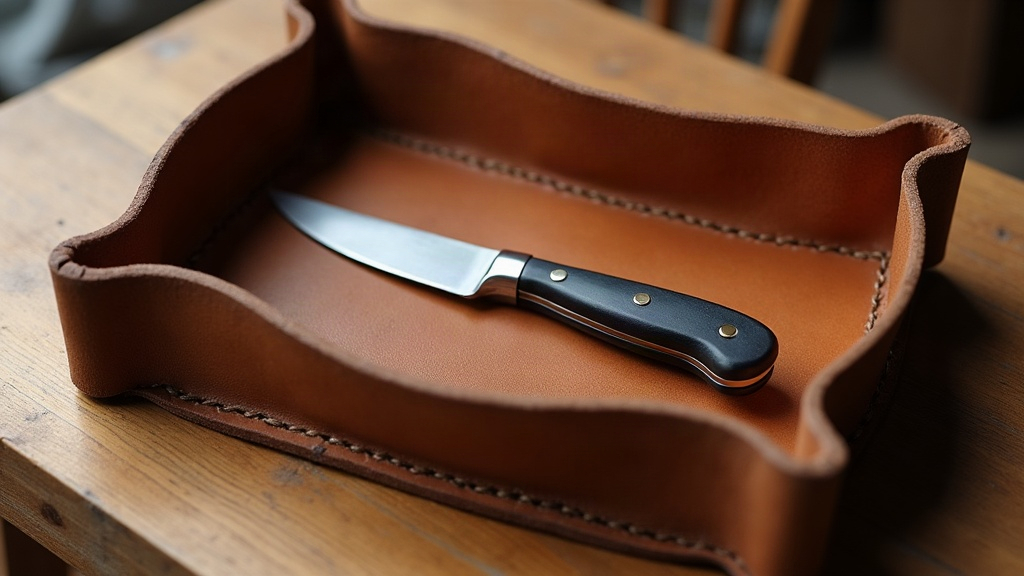
Why the Valet Tray Is the Perfect First Project
If you’re just starting out in leathercraft, a valet tray is about as forgiving a project as you’ll find. You barely need any tools: a utility knife, a straightedge, an edge beveler, and one piece of leather. No stitching holes to punch, no burnishing machine humming in the corner, no die-cutting setup eating your weekend. Just clean cuts and a shape you mold by hand.
Think about what a valet tray actually is: that little dish where your keys, wallet, and watch land every night. Simple job, simple build. It works because it leans on leather memory instead of thread. You cut a shape, wet it, press it over a form, let it dry stiff, and you’re done. Nothing to sew, no hardware to fuss with. Which makes it the ideal testing ground for your cutting accuracy and edge finishing before you move on to anything that demands needles and holes.
What You’ll Actually Need
- A utility knife with fresh blades (dull blades drag and tear the leather instead of slicing it, so swap them out more often than you’d think)
- A metal straightedge or ruler
- A cutting mat (self-healing mats save both your blade and your table)
- An edge beveler, size 2 or 3 handles most veg-tan in the 4-6 oz range just fine
- 8-9 oz vegetable-tanned leather, thick enough to hold a molded shape on its own, no stitching required
- A bowl of water and a sponge
- Something round to mold over, a bowl, a small plastic container, even a rolled-up towel does the job
Veg-tan is non-negotiable here. It’s the only leather that takes to wet-molding properly. Chrome-tanned or finished leathers will just sit there and refuse to hold a curve.
Step 1: Design and Cut Your Shape
Keep it simple for your first attempt: an oval or a rounded rectangle, somewhere around 7 x 5 inches, works well as a desk tray. Sketch the shape straight onto the flesh side with a pencil. Then cut: straightedge for the straight runs, steady hand for the curves.
Tips for cleaner cuts:
- Make several light passes instead of trying to muscle through in one deep cut. One pass rarely gives you a clean line anyway, and forcing it is how blades wander off course.
- Keep the blade upright, perpendicular to the leather, if you want a true 90° edge.
- Round off the corners a bit. Sharp corners are a pain to bevel evenly and they don’t mold well either.
Step 2: Bevel the Edges
Before any water touches the leather, run your beveler around the whole perimeter on the flesh (rough) side. This shaves off that sharp corner edge, and it matters more than it looks:
- It stops the leather from cracking when you bend it during molding
- It gives you that rounded, finished look instead of a raw slab edge
- It makes conditioning or burnishing later a lot easier
Hold the beveler at one consistent angle and pull toward you in smooth strokes. If it’s catching or tearing instead of gliding, that’s your cue the blade needs sharpening, not that you need to push harder.
Step 3: Wet and Mold the Tray
Here’s where the flat piece actually turns into a tray:
- Dampen the leather evenly with a sponge. You’re not soaking it, just enough that it feels cool and a little pliable under your fingers.
- Drape it over your mold of choice (a bowl gives you a nice rounded dish shape).
- Press the center down gently and coax the edges up by hand, shaping the sides as you go.
- Clip or hold it in place and let it air dry completely. Depending on humidity, that’s anywhere from 12 to 24 hours, so don’t rush it.
Veg-tan leather has a strange, useful trait: as it dries, it “remembers” whatever shape you held it in. Once it’s dry, it stays rigid in that tray form, no stitching, no glue, nothing holding it but the leather itself.
Step 4: Finish and Condition
Once it’s bone dry:
- Sand down any rough edges lightly with fine sandpaper.
- Rub in a leather conditioner or a light coat of beeswax balm. This brings back some suppleness and gives you a bit of water resistance too.
- Want to add initials or a simple stamp on the bottom? Do it before wetting, while the leather’s still flat. Tooling a curved surface later is just asking for trouble.
Common Beginner Mistakes to Avoid
- Using leather that’s too thin. Anything under 6 oz just won’t hold the shape, it’ll go limp again within days.
- Over-wetting. Soggy leather loses its structure fast and can warp in directions you didn’t plan for.
- Skipping the bevel. Unbeveled edges look unfinished, and honestly, they fray faster too.
- Pulling the mold too soon. Patience matters here. Remove it early and the tray slowly flattens back out, undoing all your work.
Conclusion
A leather valet tray makes one thing obvious: you don’t need a full workshop to start leathercrafting. A sharp knife, a beveler, and the right leather get you there. Along the way you pick up the core skills, clean cutting, proper beveling, wet-molding, that carry straight into bigger builds down the road: wallets, bags, cases, whatever comes next. Make your first tray and you’ll already have the muscle memory for the next dozen projects.